
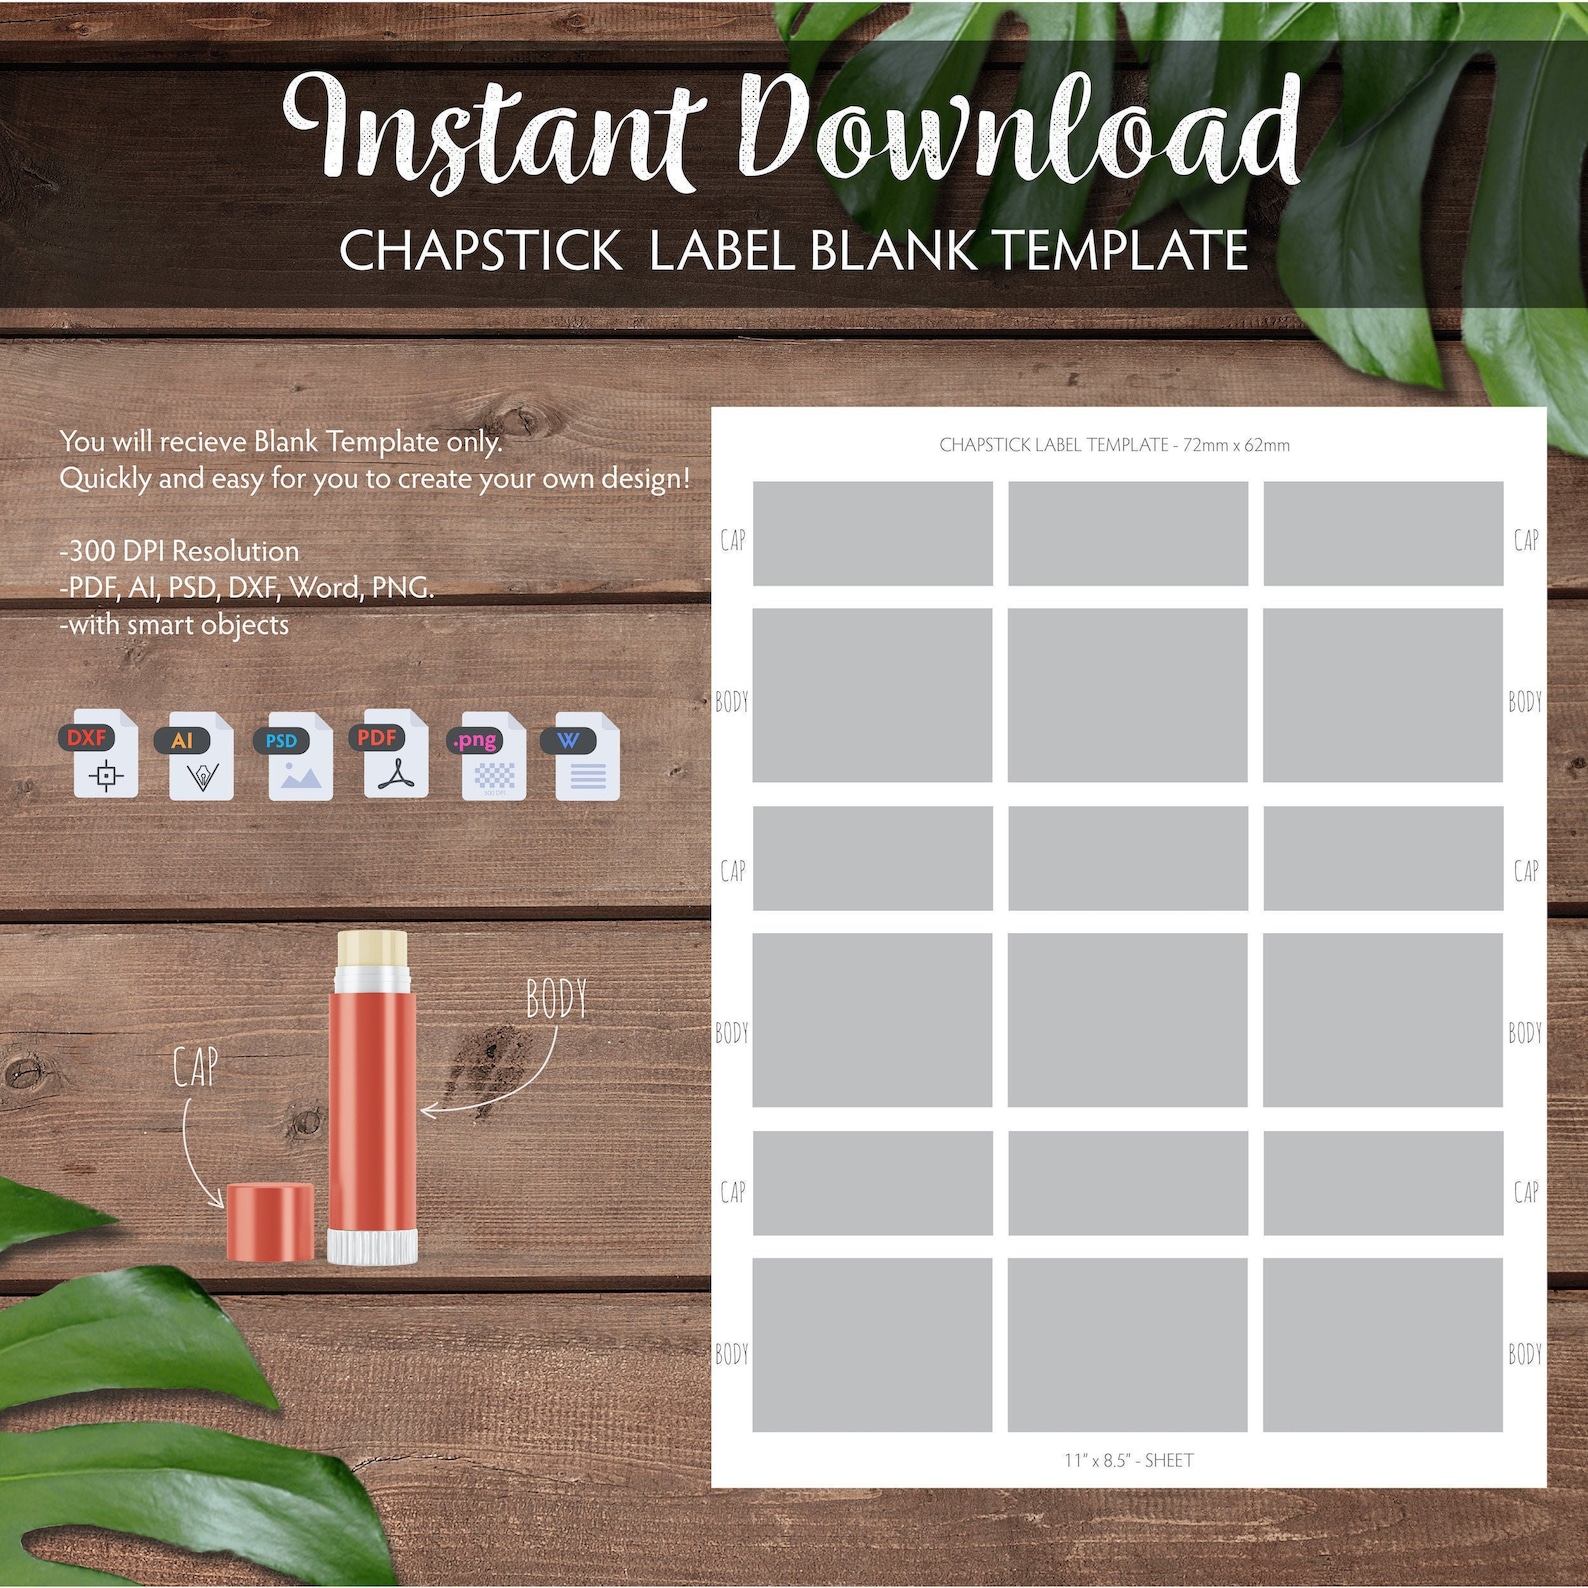
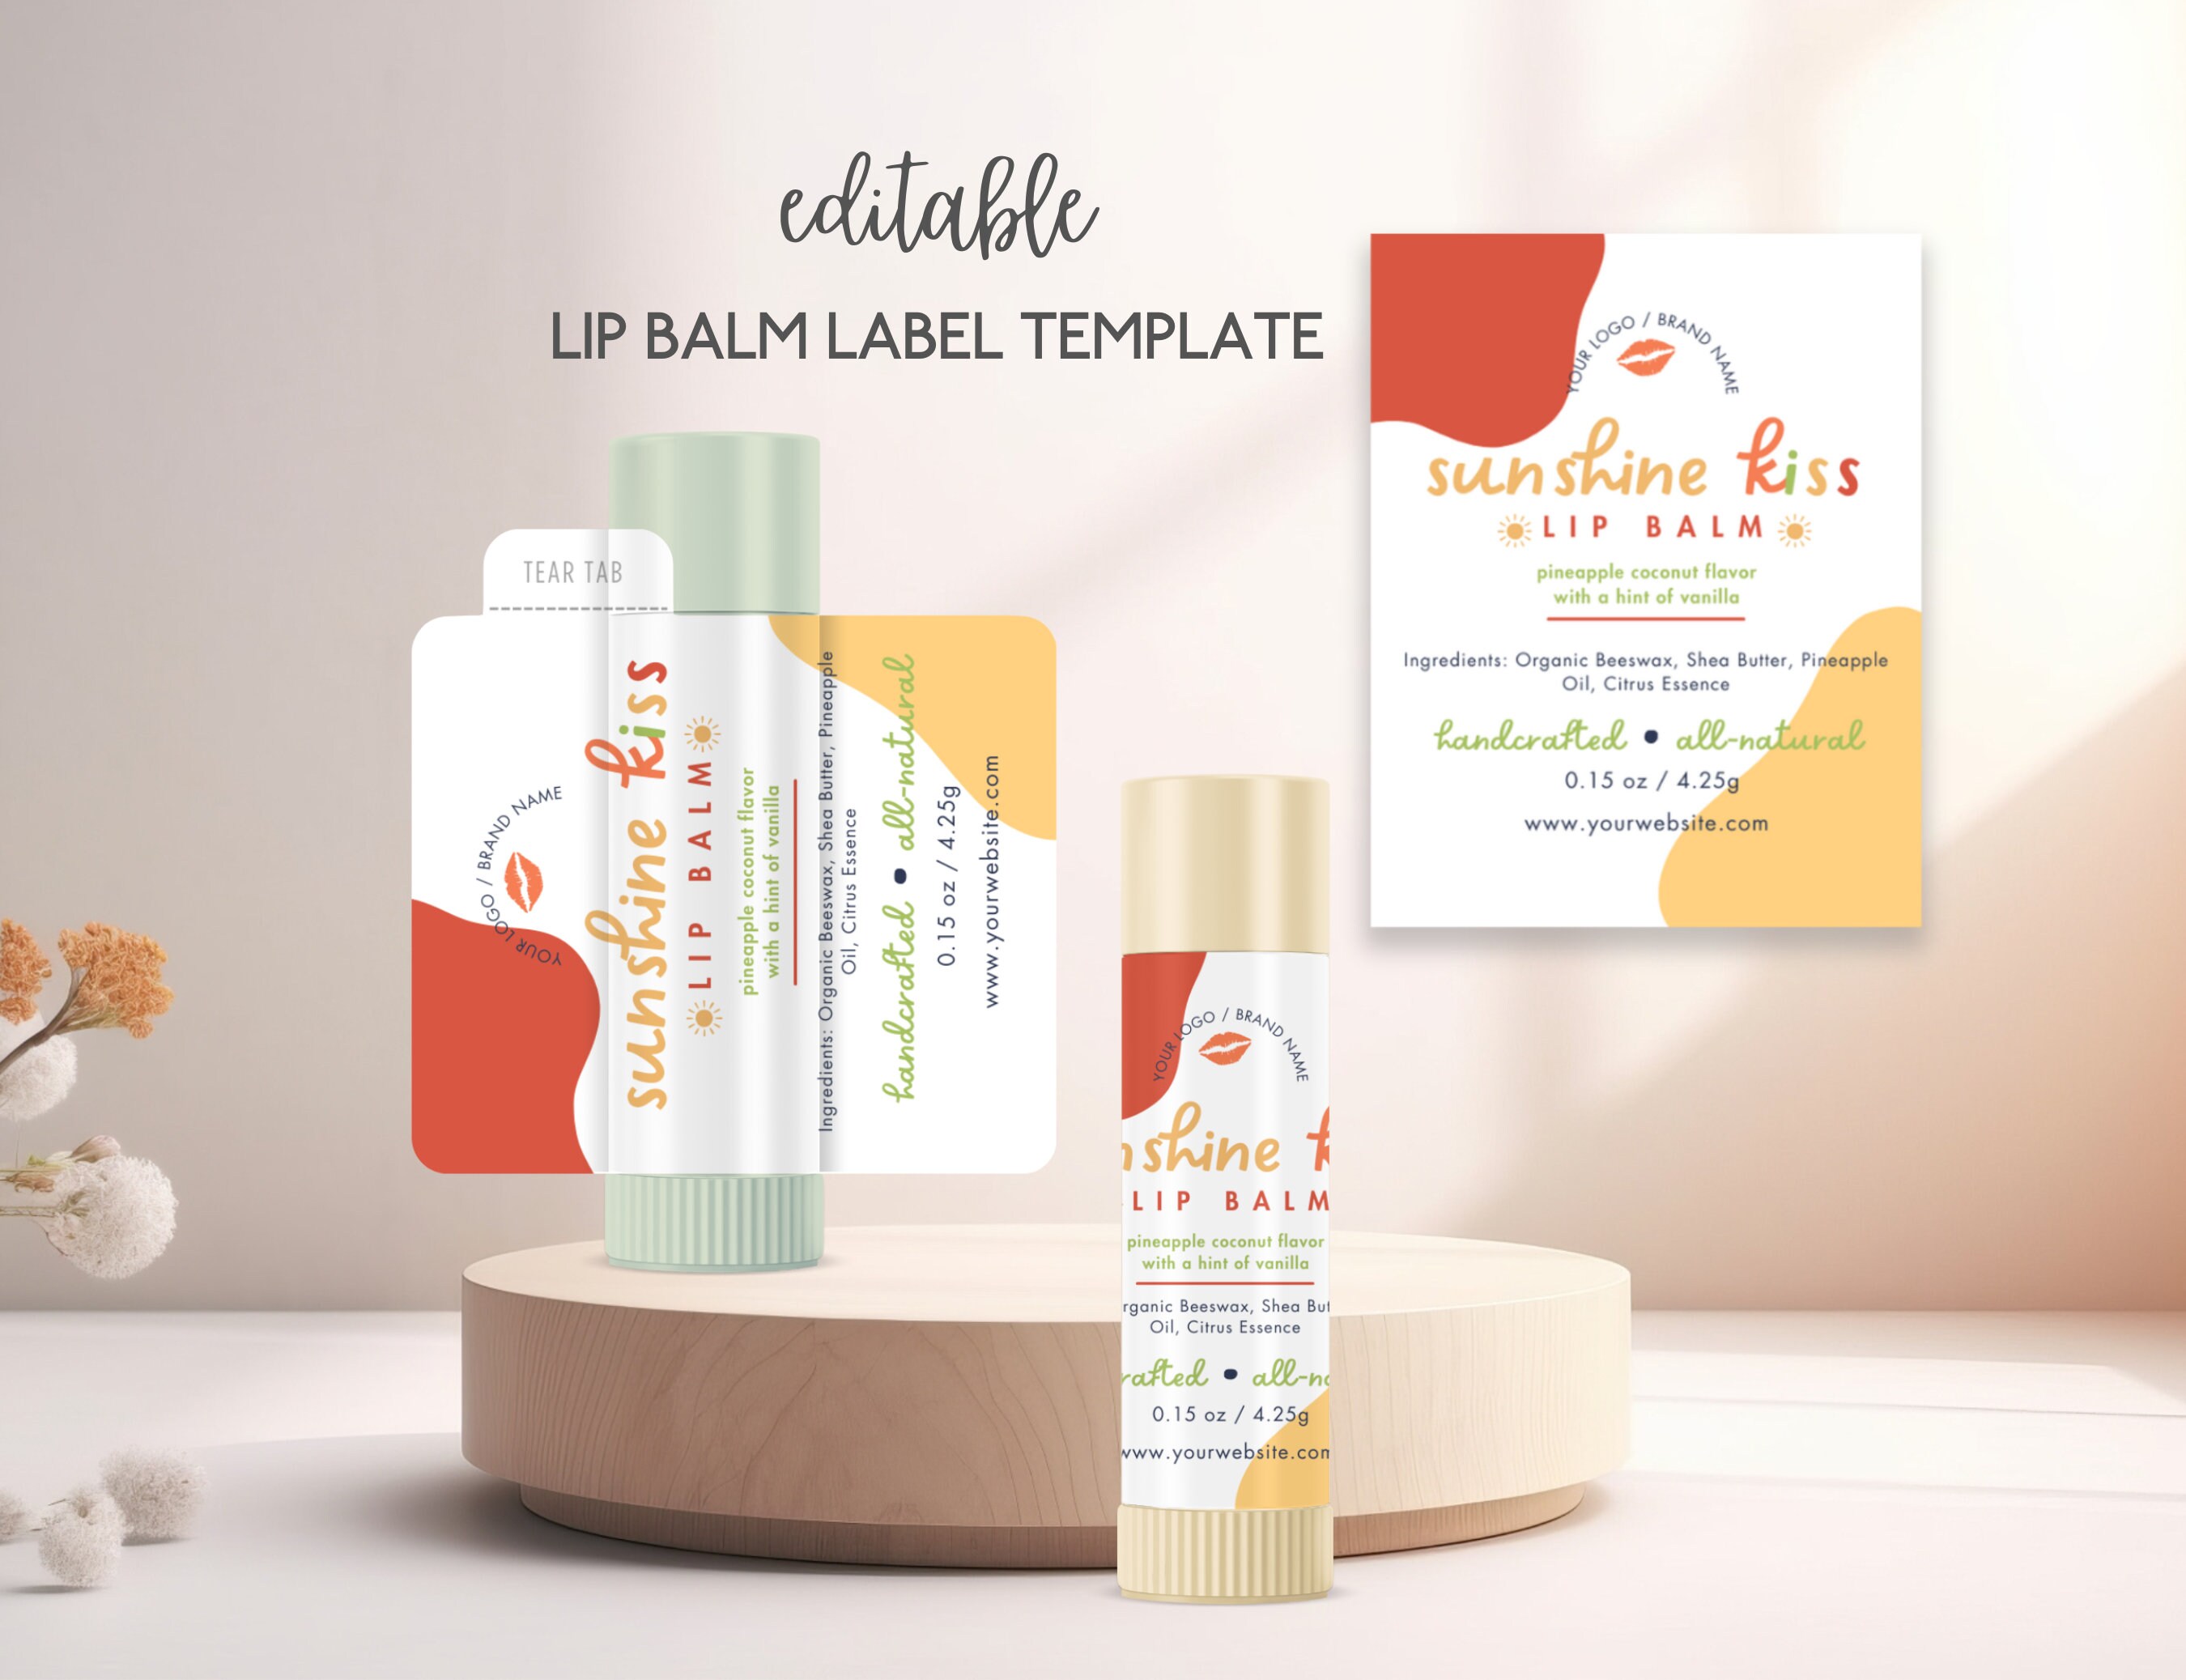
Creating personalized items, from gifts to promotional materials, adds a unique and memorable touch that generic products simply can't match. If you've ever delved into the world of DIY cosmetics or are looking for the perfect party favor, you know that presentation is everything. This is where a Free Chapstick Label Template becomes an invaluable tool, providing the perfect canvas to transform a simple tube of lip balm into a personalized masterpiece for weddings, baby showers, or your small business branding. It removes the guesswork of sizing and layout, allowing you to focus purely on the creative design process.
The appeal of custom chapstick labels extends far beyond personal crafting projects. For small business owners, particularly those in the beauty or handmade goods industries, branded lip balms are a fantastic and affordable marketing tool. They can be included as a freebie in orders, sold at craft fairs, or given away at events. For life's special occasions, such as weddings, they become cherished favors with custom messages like "Mint to Be" or the couple's names and wedding date. They are practical, useful, and serve as a constant reminder of a special day or brand.

This comprehensive guide will walk you through everything you need to know about designing and creating your own chapstick labels. We will explore where to find the best templates, how to customize them to fit your vision, and the critical steps for printing and applying them for a flawless, professional finish. Whether you're a seasoned graphic designer or a complete beginner using a simple online tool, you'll gain the confidence and knowledge to produce stunning custom lip balm labels that are sure to impress.

Why Use a Chapstick Label Template?
Embarking on a custom label project without a template can be a frustrating exercise in trial and error. You might spend hours measuring, designing, and printing, only to find your labels are too wide, too short, or don't align properly. A template eliminates this entire frustrating process by providing a pre-sized, perfectly proportioned foundation for your design.

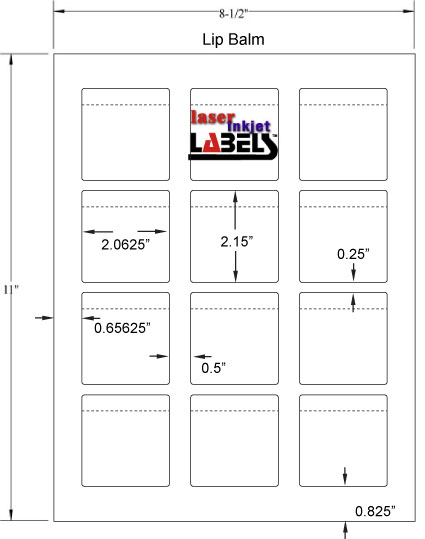
The primary benefit is accuracy and consistency. Standard chapstick tubes have specific dimensions, typically around 1.69 inches (43mm) in height and 2.12 inches (54mm) in width to wrap around the tube. A good template is built to these exact specifications, often including a small overlap for a seamless seal. This ensures that every single label you print will fit your lip balm tubes perfectly, which is crucial when producing them in bulk for an event or for your product line.
Furthermore, templates save an incredible amount of time and effort. Instead of starting from a blank digital canvas, you begin with the correct framework. This allows you to dive straight into the fun part: adding colors, text, logos, and graphics. For businesses, this efficiency is vital. For hobbyists, it means less time struggling with technicalities and more time for creativity. Ultimately, using a template elevates the final product from looking "homemade" to appearing professionally designed and produced.
Finding the Perfect Free Chapstick Label Template
The internet is a treasure trove of resources, and finding a great template is easier than ever. The key is knowing where to look and what qualities to look for to ensure your project is a success from the start. Different sources offer various formats, each with its own advantages depending on your technical skill and design goals.

Online Design Platforms
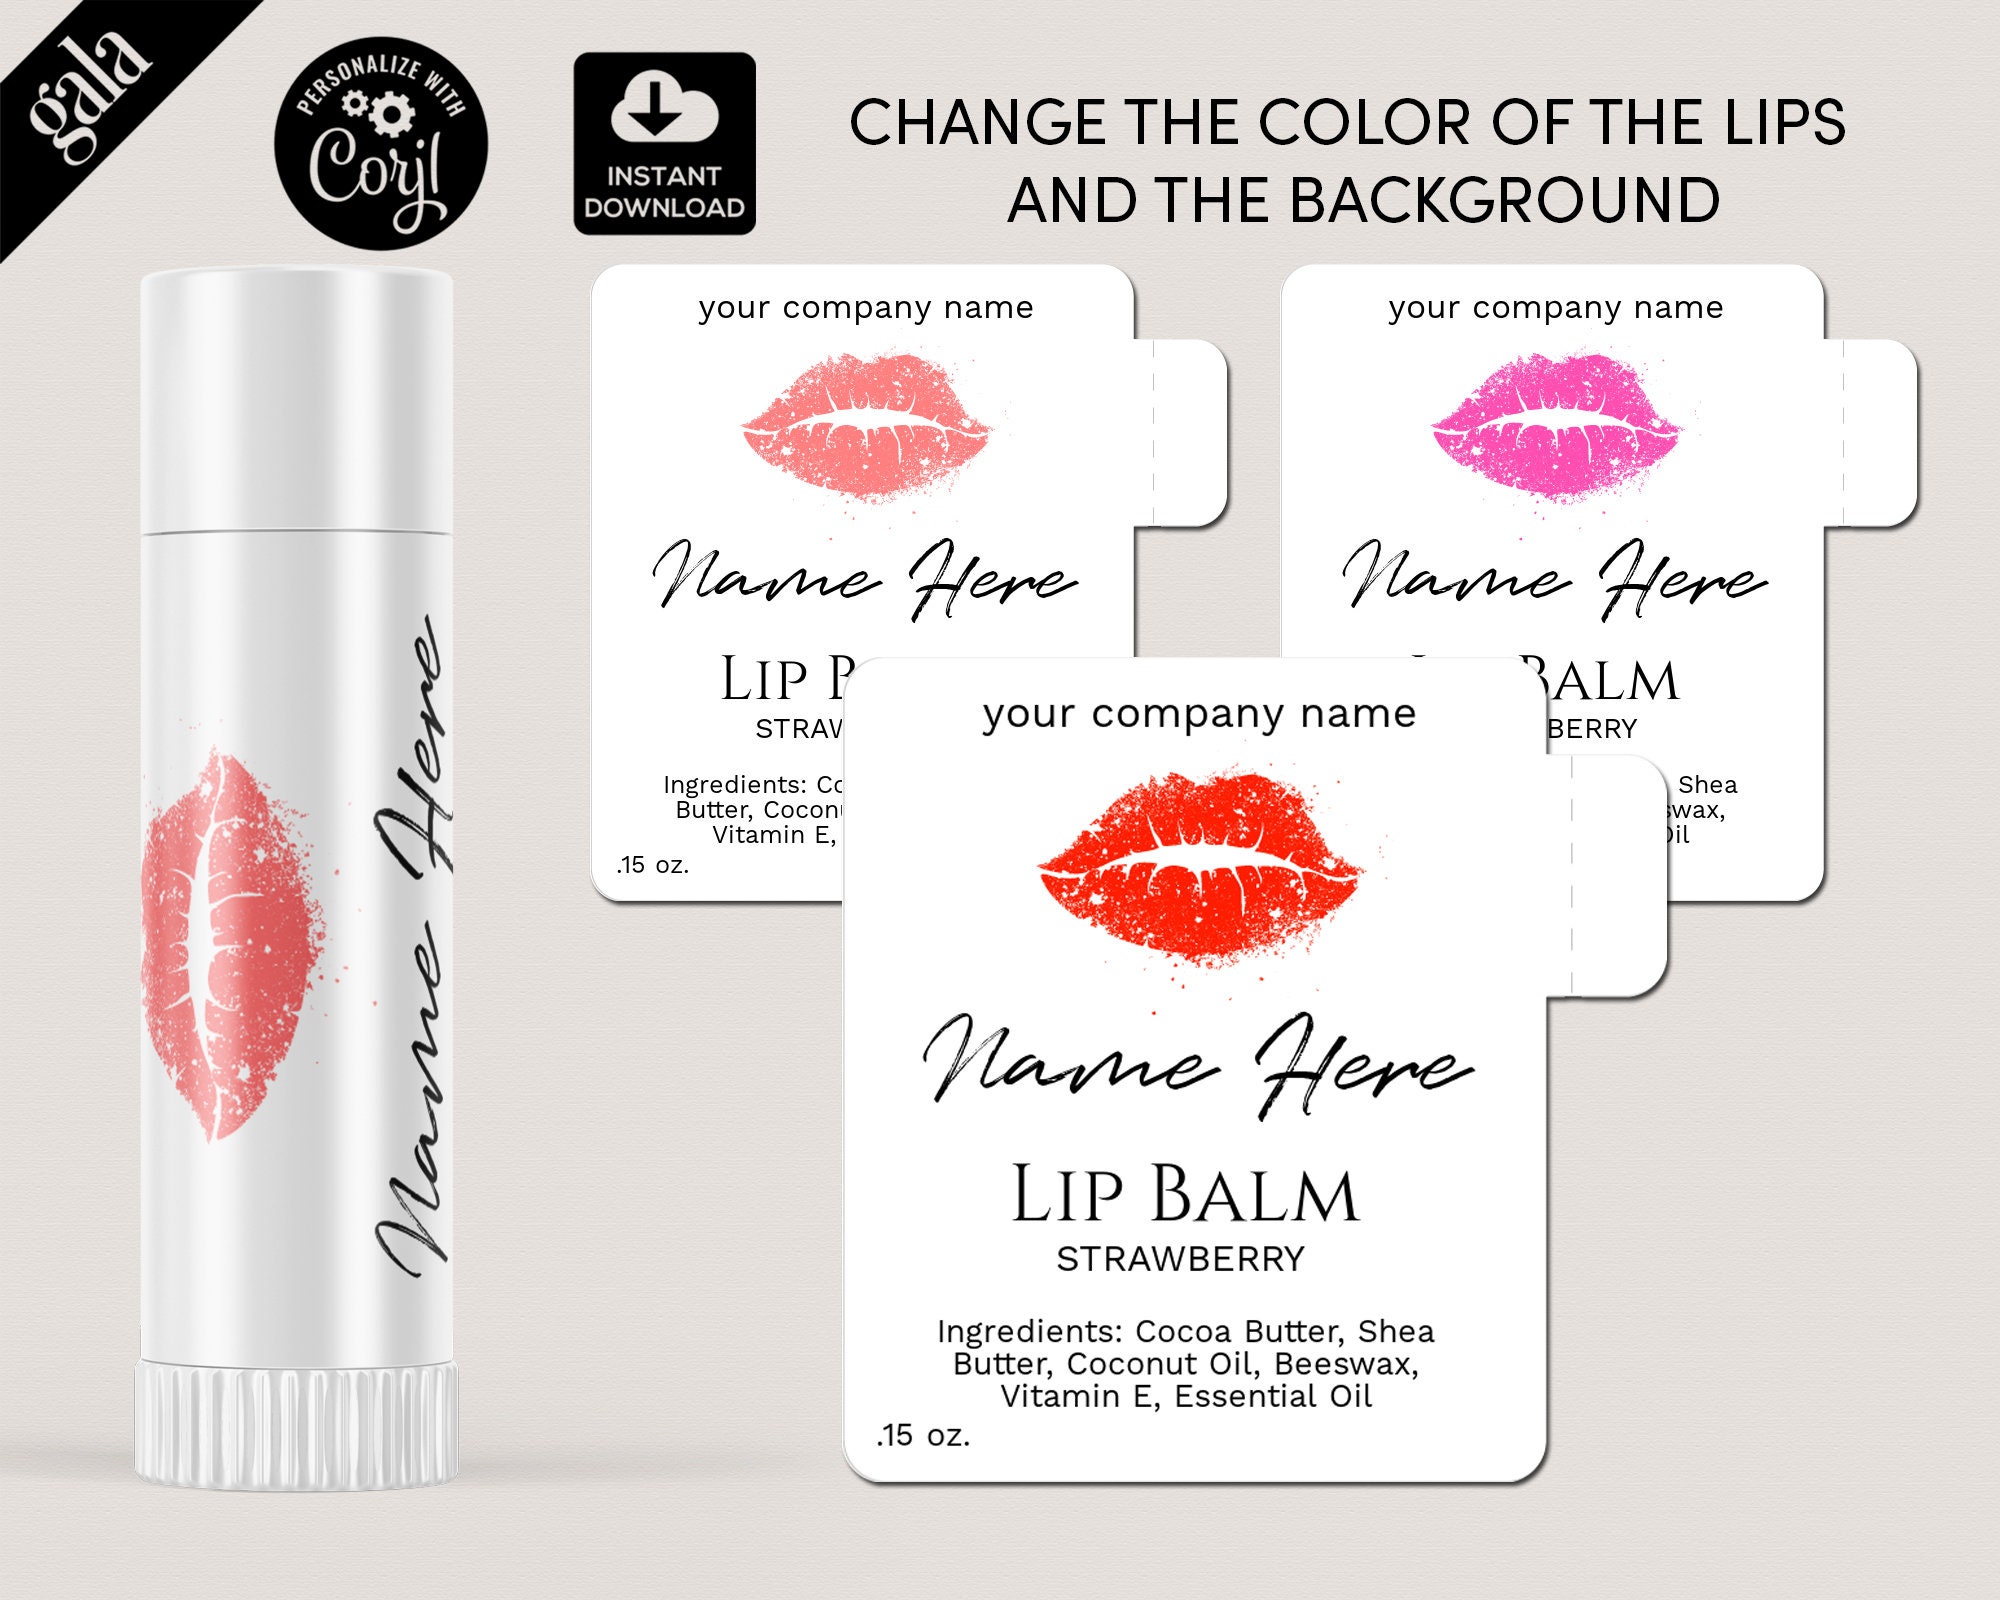
Web-based design tools like Canva, Adobe Express, and Avery's Design & Print Online are fantastic starting points, especially for beginners. These platforms often have a library of pre-made templates for various products, including lip balm labels. You can search for terms like "lip balm label" or "chapstick wrapper" to find starting points. The major advantage here is that the design and customization process happens right in your browser. You can easily change colors, upload your own logos, and experiment with hundreds of fonts without needing to download any software. Many of their templates are free to use and customize.

Printable PDF and Word Templates
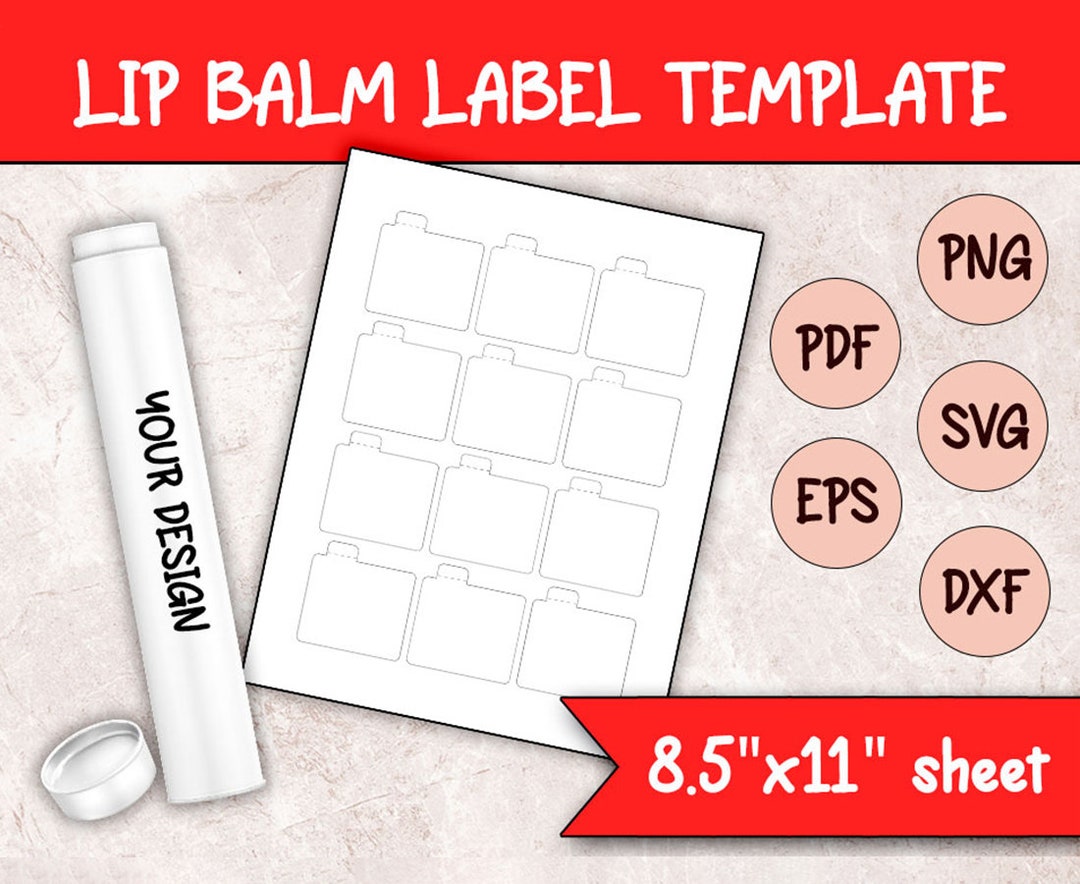
For those who prefer to work offline, many creative blogs, craft websites, and even Pinterest offer downloadable templates. These typically come in common file formats:
* PDF: These are great for printing as-is. Some PDFs are "fillable," allowing you to type in your text before printing, but they usually offer limited design flexibility.
* Microsoft Word (DOCX): Word templates are surprisingly versatile. They often use tables to structure the labels on a page, allowing you to insert text and images into each cell. This is a good option if you are comfortable working within Word.
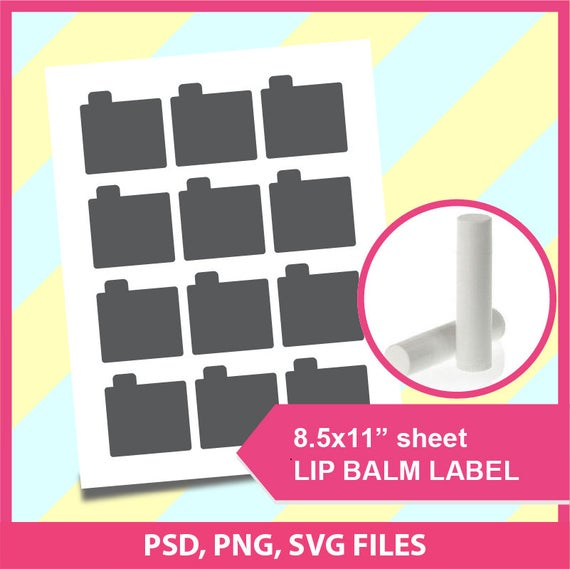
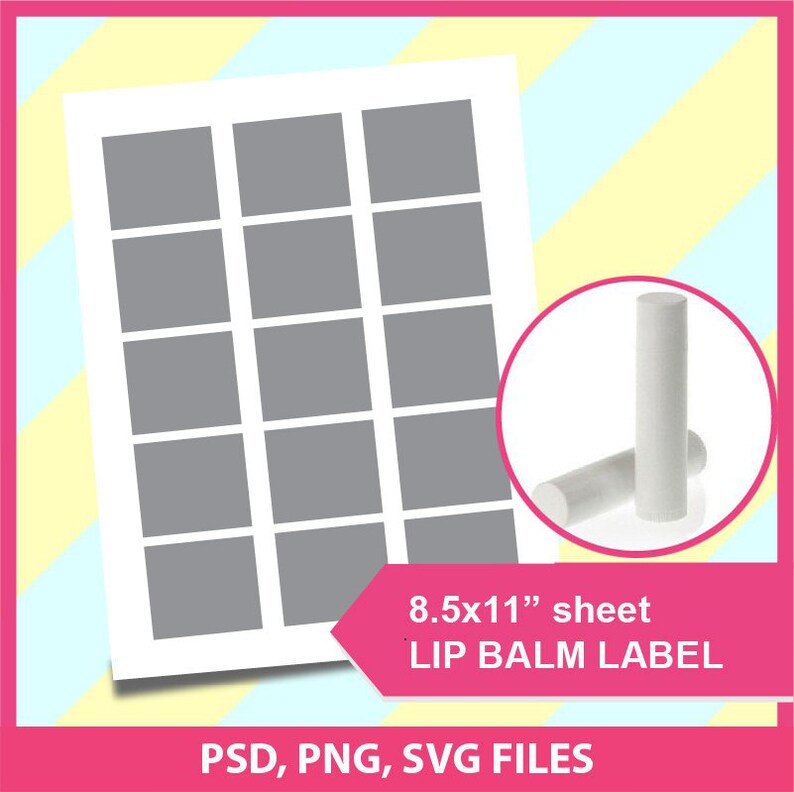
* Image Files (JPG/PNG): These act as a visual guide. You can open them in a photo editing program (like Photoshop, GIMP, or even MS Paint) and layer your design elements on top. Be sure to check that the image is high resolution (300 DPI is standard for printing) to avoid a blurry or pixelated final product.

What to Look for in a Quality Template
Not all templates are created equal. Before you commit to one, check for a few key features:
* Correct Dimensions: Double-check that the template specifies it's for a standard 0.15 oz lip balm tube.
* High Resolution: If it's an image or PDF, it needs to be high resolution to ensure crisp, clear printing.
* Layout: Look for templates that arrange multiple labels on a single US Letter or A4 sheet. This is far more efficient and cost-effective for printing than printing labels one by one.
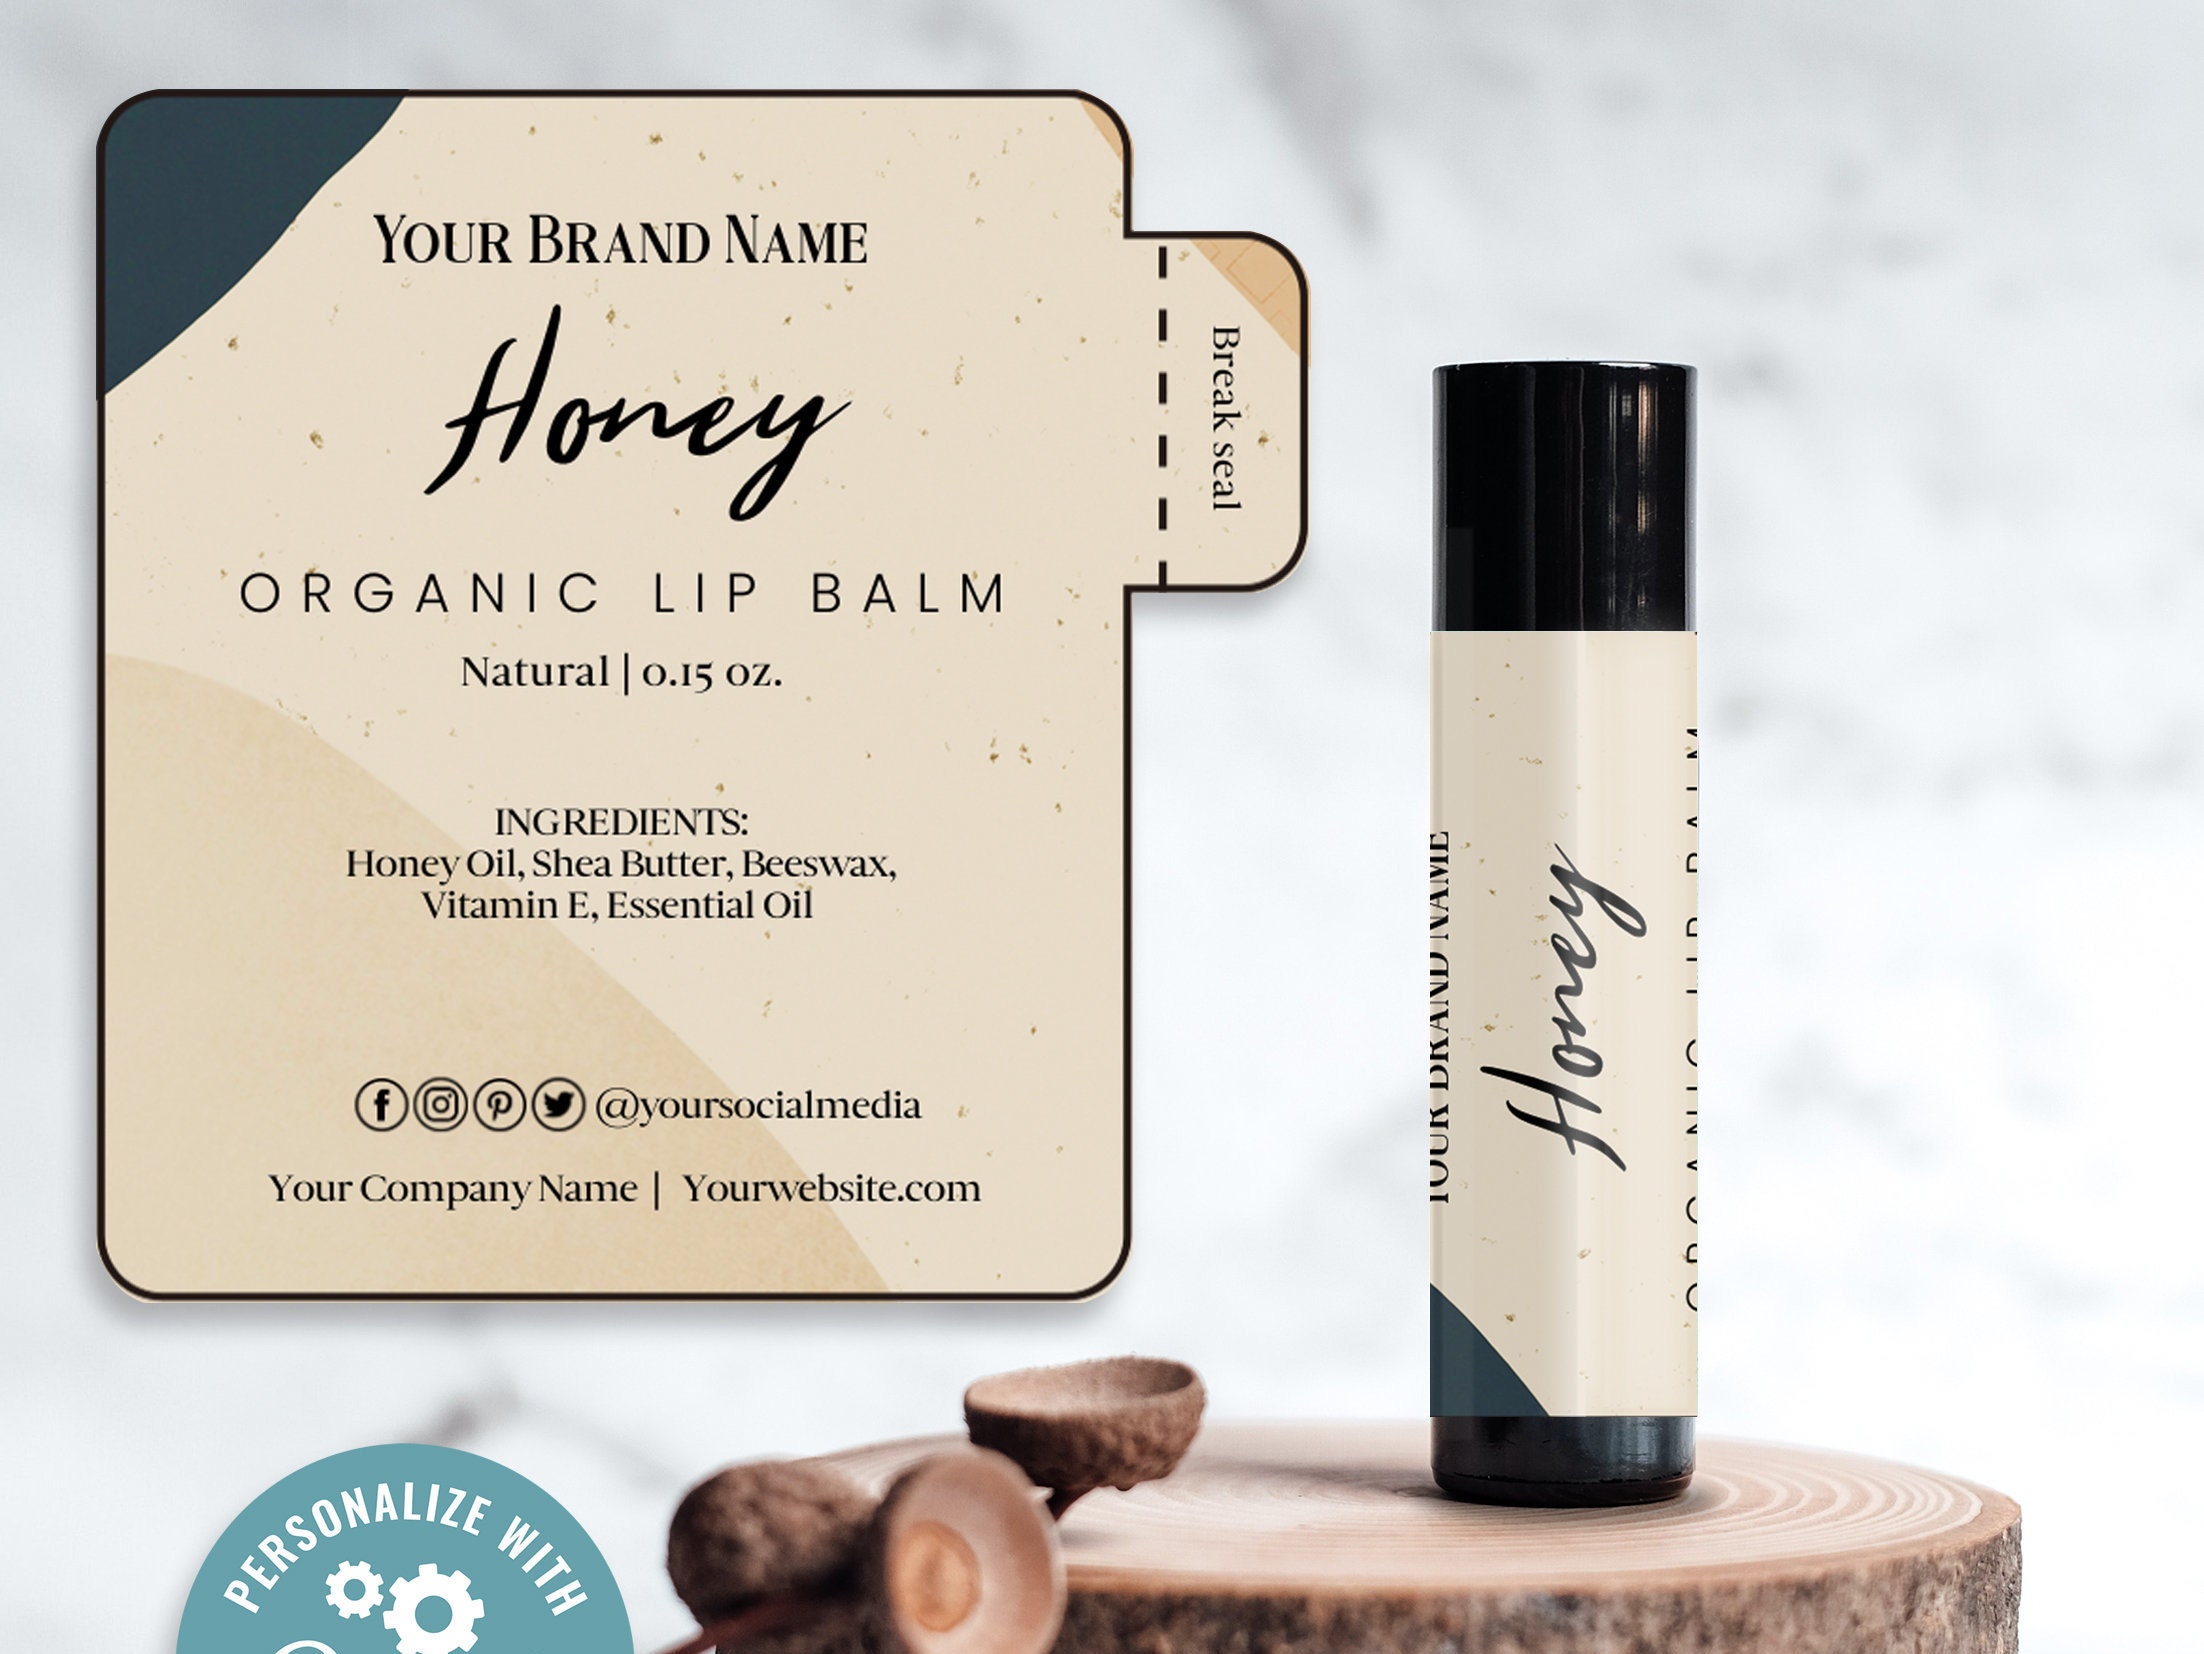
* Bleed Area: A professional template will often include a "bleed." This is a small extra margin of your design that extends beyond the cut lines. When you cut the label, the bleed ensures that your color or background image goes all the way to the edge, with no accidental white slivers.
Step-by-Step: Customizing Your Label Design
Once you have selected your template, it's time to bring your vision to life. This is where you can infuse your personality, brand identity, or event theme into the tiny canvas of a chapstick label.
Choosing Your Design Software
The software you use will depend on the template format and your comfort level.
* For Beginners: Online tools like Canva are the most user-friendly. Their drag-and-drop interface makes it incredibly simple to add text, upload images, and play with colors.
* For Intermediate Users: A program like Microsoft Word or Pages can work well for DOCX templates. You'll have good control over text and can easily insert images.
* For Advanced Users: If you have an image-based template (JPG/PNG) or an editable vector file (AI/EPS), software like Adobe Photoshop or Illustrator will give you the most creative control and professional-grade tools for typography and graphic manipulation.
Key Design Elements to Include
A small label needs to be both attractive and informative. Consider including these elements:
* Flavor or Scent Name: This is the most important piece of information. Make it clear and prominent.
* Key Ingredients: This is especially important if you are selling the lip balm. Many people have allergies, so listing ingredients like shea butter, coconut oil, or essential oils is good practice and often legally required.
* Your Brand/Event Name: For businesses, your logo is a must. For a wedding, it would be the couple's names and the date.
* Contact Information (Optional): A website or social media handle is a great addition for business labels.
* Graphics and Colors: Use colors that reflect the flavor (e.g., yellow for lemon, red for cherry). Add a simple pattern, icon, or border to make the design pop.

Design Tips for a Professional Look
- Readability is Crucial: The label is small, so choose clean, legible fonts. A common practice is to use a more decorative font for the flavor name and a simple, sans-serif font for the ingredient list.
- Mind the Contrast: Ensure your text color stands out against your background color. Dark text on a light background or light text on a dark background is easiest to read.
- Less is More: Avoid cluttering the design. A simple, clean design often looks more professional and high-end than one crowded with too many elements.
- Proofread Meticulously: There is nothing worse than printing 100 labels only to find a typo. Read and re-read every word on your design before you send it to the printer.
Printing Your Chapstick Labels Like a Pro
The quality of your print job can make or break your final product. The right paper and printer settings are essential for turning your beautiful digital design into a durable, vibrant physical label.

Choosing the Right Label Paper
Don't just print on regular paper. You need adhesive-backed label sheets designed for this purpose. The type you choose will affect the look, feel, and durability of your labels.
* Material: For a product that is handled frequently and may be exposed to moisture, a weatherproof or waterproof vinyl sheet is the best choice. It resists smudging, tearing, and damage from water or oils. Standard paper labels are cheaper but are far less durable and can look worn very quickly.
* Finish: The finish impacts the final aesthetic. Glossy finishes make colors appear vibrant and saturated, giving a slick, commercial look. Matte finishes offer a more modern, subtle, and natural appearance with no glare. Clear labels are an excellent option if you want the color of the chapstick tube itself to show through your design.
* Adhesive: Most label sheets come with a permanent adhesive, which is ideal for a product you are selling or giving as a favor.

Printer Settings for Optimal Quality
Before you hit "Print," take a moment to configure your printer settings.
* Paper Type: In your printer's settings or print dialog box, change the paper type from "Plain Paper" to a setting that matches your label sheet, such as "Glossy Photo Paper," "Other Photo Papers," or "Labels." This tells the printer to use more ink and apply it more slowly for a higher-quality, more saturated result.
* Print Quality: Always select the highest possible print quality. This may be called "Best," "High," or "Photo."
* Print a Test Sheet: This is the most important step! Before printing on your expensive label paper, print a single copy on a regular piece of paper. Hold it up to your chapstick tube to check the sizing and alignment. This allows you to make any necessary adjustments in your design file before committing to the full batch.
Cutting Your Labels
Once printed, your labels need to be cut out accurately.
* Scissors or a Paper Trimmer: For straight-edged labels, a steady hand with sharp scissors or a paper trimmer can work well.
* Craft Knife and Ruler: For maximum precision with straight cuts, a craft knife and a metal ruler are excellent tools.
* Cutting Machine: If you own a machine like a Cricut or Silhouette, you can achieve perfectly precise and intricate cuts every time. These machines are ideal for bulk production and can handle non-rectangular shapes with ease.
How to Apply Your Custom Lip Balm Labels Perfectly
The final step is applying the label to the chapstick tube. A careful application ensures a smooth, bubble-free finish that looks truly professional.
Preparing the Chapstick Tube
A clean surface is essential for proper adhesion.
* New Tubes: If you are using brand new, empty tubes for your homemade lip balm, they should already be clean. Just give them a quick wipe with a dry cloth to remove any dust.
* Re-Labeling Existing Tubes: If you are covering an existing brand, it's best to remove the original label first. You can often peel it off, and then use a bit of rubbing alcohol or an adhesive remover like Goo Gone on a cotton ball to wipe away any sticky residue. Make sure the tube is completely dry before applying the new label.

The Application Technique
Patience is key to avoiding wrinkles and bubbles.
1. Peel and Position: Carefully peel your custom label from its backing sheet. To avoid getting fingerprints on the adhesive, try to hold it by the very edges.
2. Start in the Middle: Position the center of the label onto the center of the chapstick tube. Lightly press it down. This anchors the label in place.
3. Smooth Outwards: From the center, use your thumb or forefinger to slowly and firmly smooth the label around one side of the tube.
4. Repeat on the Other Side: Once one side is secure, repeat the process on the other side, smoothing from the center outwards until the ends overlap.
5. Press Firmly: Once the label is fully wrapped, roll the tube between your hands to press the label down firmly and ensure a strong bond.
Conclusion
Transforming a standard tube of lip balm into a personalized keepsake, a powerful branding tool, or a delightful party favor is an accessible and rewarding project. The key to unlocking this potential lies in starting with a high-quality Free Chapstick Label Template. By doing so, you eliminate the technical hurdles of sizing and formatting, freeing yourself to concentrate on creating a beautiful and impactful design.
From choosing the right template and customizing it with your unique vision to selecting the best paper and mastering the printing process, you now have the knowledge to produce labels that rival professionally made products. The final touch of a careful, bubble-free application will ensure your finished lip balms look polished and impressive. Whether you're making a single, special gift or a hundred for your small business, the power to create is now at your fingertips. So go ahead, find your template, and start designing your custom labels today.
0 Response to "Design Your Free Chapstick Label Template"
Posting Komentar